Snack time becomes special with a Rice Krispie–style recipe for tiny dogs. It uses unsweetened puffed rice, xylitol-free peanut butter, and coconut oil. These ingredients make crispy, chewy squares that small dogs love. You’ll learn to bake and assemble quick no-bake treats for busy pet owners.
The guide uses pantry-friendly ingredients and gives exact amounts: about 30 small squares, 45 kcal each. You need just 10 minutes to make them, plus an hour to chill. It includes peanut butter treats and baked options like carob biscuits, so you can pick the right texture.
This intro explains why and what you need for crunchy treats or fridge-stable snacks. With short recipes, make treats without preservatives or added sugars. They provide a tasty, safe crunch that dogs enjoy.
Why Bake Homemade Crispy Treats for Tiny Dogs
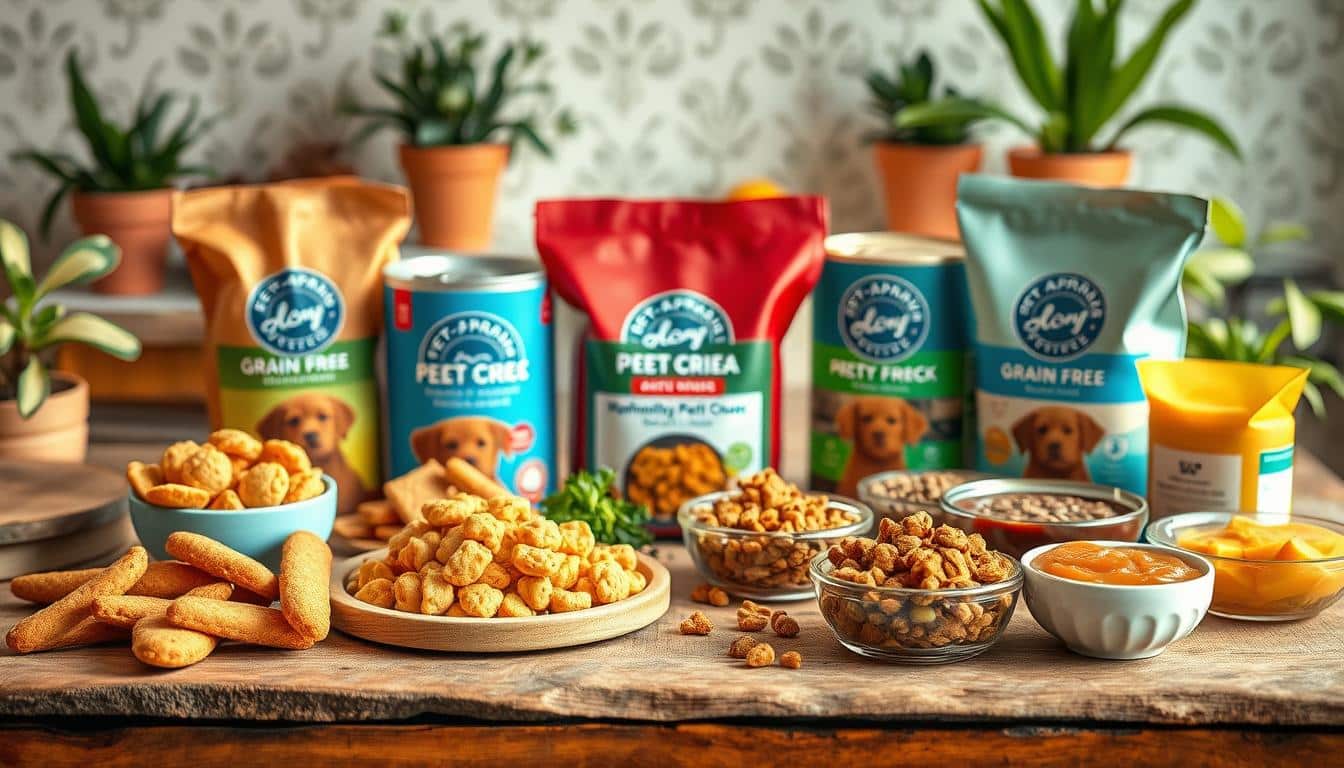
Making your own treats lets you pick every ingredient. You can use healthy stuff like unsweetened puffed rice, safe peanut butter, and coconut oil. Owners of small dogs choose homemade to cut down on unnecessary fillers and keep treats light.
With homemade recipes, you dodge preservatives that upset sensitive stomachs. Store-bought options may have hidden sugars and unknown ingredients. Simple, whole ingredients make snacks easy to digest and safer for both training and daily rewards.
Tiny dogs need treats that are easy to chew. Crunchy homemade treats satisfy their need to chew and help keep their minds active. You can break them up over food for fussy eaters or use them whole for training and games.
Creating different treats is safe and fun. Bake wholewheat biscuits with carob to avoid chocolate’s harm. Or whip up no-bake squares without sugar or marshmallows, using peanut butter and coconut oil for good fats and protein.
- Benefits of homemade dog treats: ingredient control, predictable calories, and tailored sizes for toy breeds.
- Avoid preservatives in dog food by choosing fresh, simple recipes that omit artificial stabilizers and sweeteners.
- Healthy dog treat ingredients let you add nutrient boosters like ground flax or pumpkin without unwanted additives.
Homemade treats are perfect for families who want special, safe snacks for their dogs. Keep treats small and introduce new stuff slowly, watching for any bad reactions. This way, you enjoy the benefits of homemade crunchies for small dogs—less risk and better nutrition.
How to bake crispy treats for tiny dogs
Start by planning texture, timing, and safety. Aim for methods that are quick and fit for small dogs. Use a no-bake recipe for fast, crunchy treats. Choose oven baking for harder, lasting snacks.
Overview of the Rice Krispie-style no-bake method for small batches
Melt peanut butter without xylitol and coconut oil on low heat until smooth. Add a spoonful of ground flaxseed and a little cinnamon, if your vet says it’s okay. Then, mix it into 3 cups of unsweetened puffed rice or another grain.
Spread the mixture in an 8×8-inch pan with parchment paper. Let it chill for at least an hour, then cut into small squares. This easy recipe takes less than 15 minutes to prepare and makes about 30 squares.
Timing and yield for bite-sized squares suitable for tiny mouths
The no-bake process takes about 10–15 minutes, plus chilling for an hour. You’ll get around 30 small squares from an 8×8 pan. Baking peanut butter and carob balls at 350°F for 10 minutes gives you about 45 small bites.
For really small dogs, make each treat smaller by cutting them in half or quarters. Plan treat times wisely to keep their calorie intake in check.
Safety checklist before baking or assembling
- Confirm puffed rice or grains are unsweetened and additive-free.
- Verify peanut butter label for no xylitol, no added salt, and no artificial sweeteners.
- Avoid chocolate, raisins, and other toxic ingredients. Do not add sugar or large amounts of fruit with high sugar.
- Introduce new items like pumpkin, cinnamon, or flax gradually and watch for reactions.
- Consult your veterinarian for dogs with pancreatitis, obesity, or chronic conditions.
When making treats in small batches, follow the safety checklist. This makes sure the treats are not only tasty but also safe for tiny dogs.
Essential dog-safe ingredients for crispy treats
Pick items that are easy on small stomachs and simple to find. Choose whole, minimally processed foods. This way, you control the flavor and texture for tiny mouths.
Unsweetened puffed rice or alternative puffed grains
Opt for unsweetened puffed rice made for dogs. It should have no salt, sugar, or fake stuff. Regular puffed rice from the grocery store is good if it only has rice listed. For dogs with grain issues, try puffed quinoa or buckwheat. They keep treats light and crunchy.
Homemade, xylitol-free peanut butter and safe nut butter swaps
Make peanut butter without xylitol at home using roasted peanuts. No need for salt or sugar. You can use store-bought nut butters like Smucker’s Natural or Santa Cruz. Just make sure they’re free of xylitol. For dogs that can’t have peanuts, go for unsweetened almond butter or sunflower seed butter. These options bind and flavor treats safely.
Coconut oil benefits and acceptable oil alternatives
Coconut oil works well in dog treats. It acts as a binder and offers health benefits for their coat and brain. It also makes the mix firm when cool. If coconut oil isn’t right for your dog, try olive oil or flaxseed oil. However, these may make the treats softer and slightly change how they feel when eaten.
Optional nutrient boosters: ground flaxseed, chia, pumpkin, cinnamon
Add a bit of ground flaxseed to your dog’s treats to up omega-3s and fiber. Chia seeds are a good choice too. They thicken treats and help with hydration. Use plain pumpkin purée to help with digestion and moisture. Just use less peanut butter to keep treats firm.
- Use cinnamon lightly for a gentle, anti-inflammatory touch. Skip it if your dog is sensitive.
- Think about using turmeric or ground ginger for a mild spice mix-up.
- Carob powder is a safe chocolate alternative. It works well with wholewheat flour or unsweetened Cheerios in baked treats for extra structure.
Step-by-step no-bake recipe for tiny dog crispy squares
Let’s get a quick overview before we dive into the steps. This no-bake dog treats recipe is perfect for making a small batch. It’s easy to store and split into smaller pieces for training rewards. You’ll spend about 10 minutes preparing and an hour chilling them. An 8×8 dog treat pan ensures they come out with even thickness.
Prep your tools and pan
- First, line an 8×8 pan with parchment and grease it lightly with coconut oil.
- Gather your needed items: a small saucepan, mixing bowl, a silicone spatula, measuring cups, and extra parchment for pressing.
- Measure your puffed rice ahead to speed up the mixing process.
Melt and mix
- In a saucepan over low heat, melt 1/2 cup of peanut butter with 2 tablespoons of coconut oil until smooth and liquid.
- If you like, you can stir in 1 tablespoon of ground flaxseed and 1 teaspoon of cinnamon for extra nutrition.
- Keep this mix warm so it stays fluid, making it easier to blend with the rice.
Combine with puffed rice
- Put 3 cups of unsweetened puffed rice cereal into a big bowl.
- Pour the peanut butter mix over the cereal gently, folding it in to keep the cereal crunchy.
- Be gentle and quick to evenly coat the rice without smashing it.
Press, chill, and slice
- Put the mix into your prepared pan. Press down firmly and evenly with another parchment to make compact bars.
- Chill in the fridge for at least an hour until it’s solid.
- Then, lift it out, cut into about 30 small squares, and size them down further for tiny dogs. These are perfect for training treats.
This no-bake method creates crunchy, small treats that are great for training. They can also top off your dog’s kibble. Keep them in the fridge in an airtight container for up to 10 days. Or you can freeze some for longer storage.
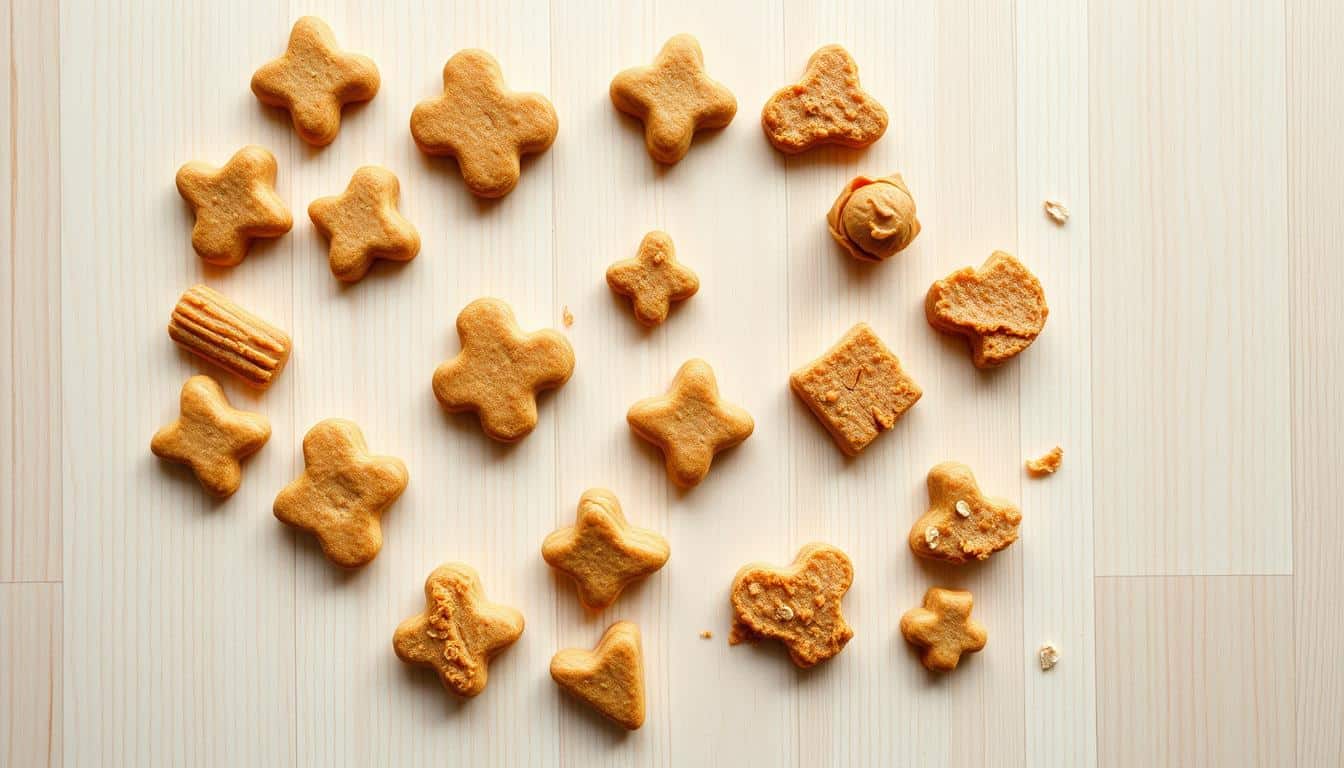
Oven-baked crispy alternatives and variations
Oven-baked treats are ideal for small dogs who enjoy a crunchier snack. These treats last longer too. They often contain wholewheat flour and puffed oats or Cheerios for added texture. It’s best to start with small amounts to see what your dog likes.
Peanut butter carob ball method
- Combine 1 cup wholewheat flour, 2 cups wholegrain Cheerios, 1/4 cup peanut butter, 1/2 cup coconut oil, 1 tsp carob powder, and 2 eggs.
- Shape the mix into 1-inch balls, place them on a baking sheet, and bake at 350°F for 10 minutes.
- You’ll get about 45 treats. They can stay fresh for a week in your pantry or two weeks in the fridge.
Baked wholewheat and Cheerios biscuits
Mix wholewheat flour and Cheerios to make tough biscuits. They’re perfect for long walks and training. The carob makes them taste a bit like chocolate but is safe for dogs.
When to choose baked vs no-bake
- Choose baked treats for trips because they’re tough and last long. They’re also good if you prefer them to be chewier.
- Go for no-bake when you’re short on time. They’re quick and keep their soft texture.
- Think about your dog’s teeth, where you’ll store these, and what’s in them when deciding between baked or no-bake treats.
Safe customizations and flavor boosters for picky tiny eaters
Tiny dogs can be picky eaters. Small changes make their snacks more exciting without harming their health. Choose dog-safe options to spice up treat flavors. This keeps meals balanced in texture and nutrition.

Fruits add sweetness and vitamins to treats. Crushed dehydrated blueberries bring antioxidants. They add little moisture. Diced dried apple provides fiber and a nice chew. This is great for dried fruit dog treat mixes. Mashed banana works well as a glue, about 2 tablespoons. If you add banana, use less peanut butter to keep bars solid.
- Use small pieces so treats stay crunchy.
- Choose unsweetened, preservative-free dried fruits.
- Avoid any fruit with xylitol or added sugar.
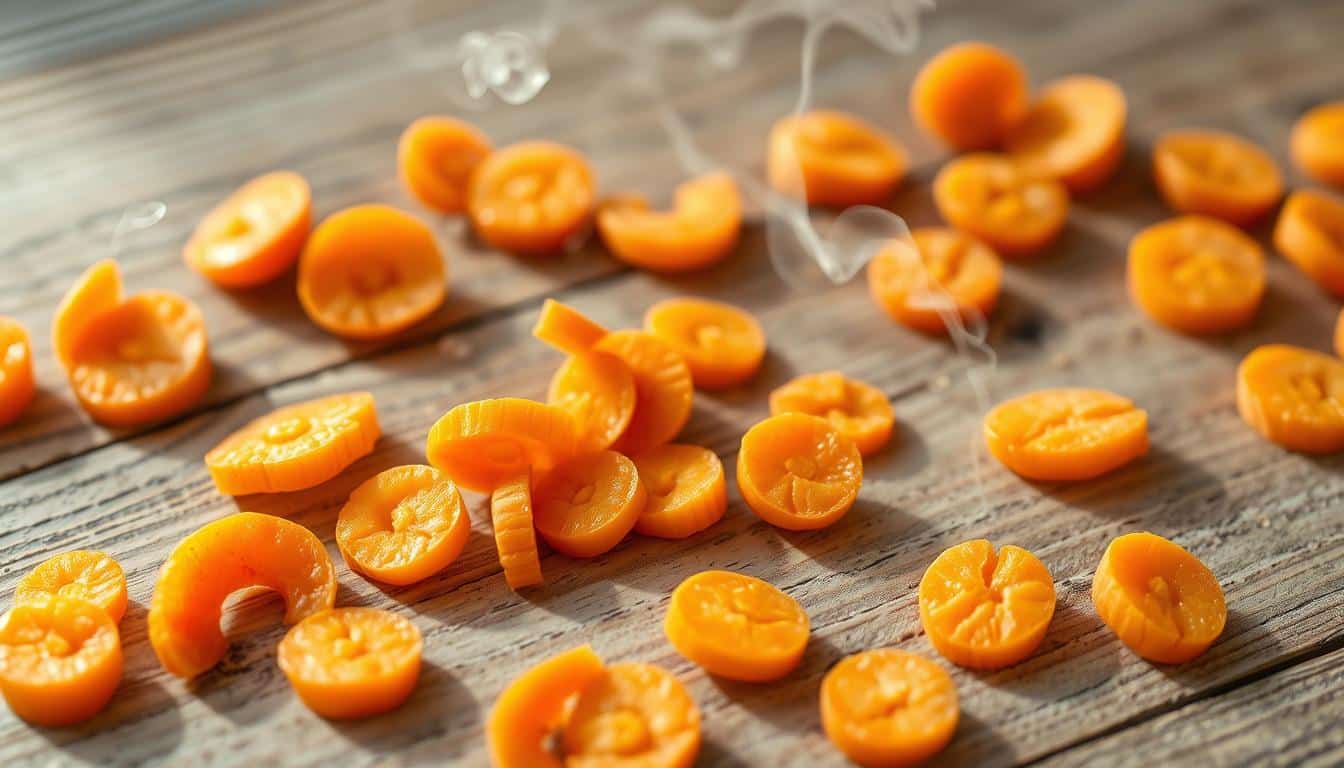
Vegetables add color and fiber without changing the flavor too much. Shred carrot or zucchini finely. It mixes well without affecting the snack’s crispness. This works if you remove extra moisture first. Canned pumpkin puree makes treats softer and helps digestion. This is why it’s popular in pumpkin dog treat recipes. Cut back on wet ingredients to prevent treats from getting too mushy.
- Grate vegetables fine for even bites.
- Swap pumpkin purée for dry mix ingredients when firmness is crucial.
Seasonal additions change treats throughout the year. Add a bit of turmeric and ginger with pumpkin spice for warmth. These spices can also aid digestion in small doses. Try carob chips or chopped dried cranberries for holiday treats, avoiding chocolate and other human sweets. Use these seasonal options as special treats.
- Keep spices mild and test a small batch first.
- Label seasonal batches and note any new ingredient for vet review.
For dogs that like meaty flavors, try savory add-ins. Freeze-dried chicken bits, shredded turkey, or a bit of low-salt Parmesan work well. These make the base recipe more appealing to fussy eaters while staying safe.
- Mix small amounts first to check texture changes.
- Watch portions: tiny dogs need tiny servings.
- Introduce one new add-in at a time to monitor tolerance.
Try different flavors in small, training-sized pieces. Alternate between sweet dried fruit treats, pumpkin treats, and savory options to keep your dog interested. Watch how they react and talk to your vet if your dog has allergies or health problems.
Portioning, training use, and enrichment ideas
Small dogs need rewards that match their size. Cut the crispy squares to suit your pet’s size and energy needs. Keep the treats under 10% of their daily calorie intake for a healthy diet.
For little breeds, make the treats even smaller. This keeps the training smooth and enjoyable. If you start with 30 squares, you can make tons of smaller treats for short or many training sessions.
Keep some crunchy treats near your leash for quick rewards. For outdoor fun or trips, use tougher 1″ balls that last longer. These are perfect for activities that require more time.
- Training: Use tiny pieces for quick rewards and bigger ones for harder tasks.
- Travel: Baked balls are great for on-the-go and in puzzle toys.
- Medication: Hide medicine in a crumbled square to hide its taste.
Add some crumbled treats to your dog’s meals to spice up their kibble. Just a teaspoon can make their regular food more interesting. This is a good trick when changing their diet or to help them eat when they’re not feeling hungry.
Treats become even more fun when used in puzzles and games. You can hide small pieces in special mats, put them in puzzle toys, or scatter them for a sniffing adventure. The smell of peanut butter and coconut oil will get your dog excited.
- Cut treats into small pieces for rewarding training.
- Keep the tougher treats for playing hide-and-seek or in durable toys.
- Add treat crumbs to meals carefully to avoid extra calories.
Change up the treats to keep things interesting for your dog. Mix soft and crunchy treats to keep their mouth and nose busy. By doing this, you’re not just feeding your dog. You’re giving them a fun activity that also keeps them healthy.
Storage, shelf life, and freezing tips for small batches
Storing small-batch treats right means thinking about fridge and freezer space. Proper storage helps keep treats crunchy, flavors fresh, and extends their life. This way, you don’t have to worry about safety or texture.
Fridge storage basics
- Keep treats in airtight containers to protect against air and smells. Glass jars or safe plastic containers are best for this.
- For treats like no-bake Rice Krispie-style snacks, they can stay fresh in the fridge for about 10 days. You might want to warm them up a bit before giving them to your dog.
- Don’t forget to write the date on containers. This helps you use the oldest treats first and keep everything fresh.
Freezing and portioning tips
- Divide treats into portions before freezing. This way, you only thaw what you need and keep your freezer neat.
- Wrap treats tightly or use freezer bags. Most homemade treats can last up to 3 months in the freezer.
- Thaw treats in the fridge or on the counter for a bit. For treats like baked biscuits, you can keep them in the fridge for two weeks or freeze them for longer.
Layering and presentation to prevent sticking
- Use parchment paper between layers of treats to keep them from sticking. This also helps keep them crunchy after thawing.
- If you’re adding moist ingredients like pumpkin, use extra parchment. This stops clumping and keeps treats from sticking together when you’re moving them.
- For giving treats as gifts, pick reusable jars that are clearly labeled. Place parchment between each layer for a neat look and easy grabbing.
Allergy considerations and veterinary safety guidance
Making dog treats at home is fun, but safety is key. Always check for allergies your dog might have. It’s important to watch how big the treats are. Write down everything you use so you can find out what causes problems.
Many dogs get itchy skin, throw up, have diarrhea, or eat less if they’re allergic to their food. If your dog is allergic, try using other grains like puffed quinoa or puffed millet. Many dog owners pick these when they want treats without regular grains.
- After giving your dog a new grain, check for stomach problems for a few days.
- Only introduce one new thing at a time to figure out what causes any bad reactions.
There are certain things you shouldn’t give dogs with health issues. Never use peanut butter with xylitol, as it’s deadly for them. Avoid treats with a lot of fat since they can cause pancreatitis or make obesity worse. So, be careful with ingredients like carob or nuts that are high in calories.
- Stay away from xylitol and always check the labels on nut butters.
- Use less cinnamon and strong spices for dogs who are sensitive to them.
- Carob is okay instead of chocolate, but remember it’s high in calories.
When giving your dog new treats, go slow and be observant. Start with a tiny piece. Look out for any signs of itching, throwing up, diarrhea, sneezing, or feeling tired. If you see these signs, stop the treats right away and talk to your vet.
If your dog has pancreatitis, is overweight, or has chronic issues, talk to your vet before trying homemade treats. They can tell you the best portion sizes and safe ingredients. They’ll also know if grain-free treats are a good idea for your dog.
Keep things simple with a checklist: write down when you gave the treat, what was in it, and how much. This makes it easier for your vet to figure out what’s causing issues. Staying in touch with your vet helps keep your dog healthy.
Gifting, scaling recipes, and creative presentation ideas
Small-batch treats are perfect for holidays, fundraisers, or busy weeks. To scale up, stick to rules that keep taste and feel the same. Good packaging can make your treats unforgettable or a hit locally.
Scale confidently. Doubling a no-bake recipe fits a 9×13 pan well. Press it evenly to prevent breakable edges. If you triple it, use several pans or make small balls, not squares. Keep the mix ratio right. Large amounts may need more chilling, so check they’re firm before cutting or packaging.
Batch tips for bakers. Cool baked goods fully before packing. Use tins for hardy items, and add a label with storage tips: one week on the shelf, two weeks in the fridge. This info helps people keep treats fresh.
- Measure by weight when possible for repeatable results.
- Adjust chill or bake time in 10–15% increments for larger pans.
- Test one pan first to confirm texture before committing to many.
Packaging and gifting ideas. Fill reusable glass jars with treats, separated by parchment paper. Add a recipe card and feeding tips for new dog owners. Decorate jars with twine and a label that lists ingredients and how long they stay fresh. This makes your homemade dog treats a special gift.
Creative label and card ideas. Use simple tags, waterproof labels, and allergy warnings for nut-free or grain-free treats. At bake sales, price tags and sample stickers help quicken purchases.
- Pack small amounts in cello bags for easy single serves.
- Offer boxes with assorted flavors to encourage trying them out.
- Include feeding guidelines on every package.
Presentation inspiration from socials and sales. Shoppers love brown paper bags with handwritten notes at local sales. Pinterest and dog recipe sites share ideas with seasonal decorations and neat displays that make treats more appealing. Clean labels and tidy presentation draw attention at community events and fundraisers.
Final selling and gifting pointers. Focus on safe, clear, and reusable treat packaging. A neat package with a clear card is great for gifting or fundraisers. Good presentation turns a simple recipe into a loved item at sales and exchanges.
Conclusion
Making your own crispy treats gives you control over what’s in them, ensuring they are healthy and safe for your pet. You can choose between no-bake Rice Krispie–style squares or oven-baked treats with carob and peanut butter. This guide helps you make delicious snacks for your little dog, focusing on safety.
Remember, treats should only be a small part of your dog’s diet, less than 10% of their daily calories. Slowly introduce any new foods and watch how your dog reacts to them. For treats that last longer, try baking wholewheat or Cheerios-based biscuits. You can keep no-bake treats in the fridge for about 10 days or freeze them for three months.
With these simple recipes and smart ingredient choices, you can make healthy, crunchy treats at home. These treats are perfect for training, fun, and even just snacking. They’ll help strengthen the bond between you and your little furry friend. Follow this easy guide to make tasty treats that your dog will love.
FAQ
Why should I make homemade crispy treats for my tiny dog instead of buying commercial ones?
Are crunchy treats safe for very small or toy-breed dogs?
What are the main differences between the no-bake and oven-baked methods?
What ingredients must I avoid to keep treats dog-safe?
Can I swap ingredients for allergies or grain sensitivities?
How do I make the no-bake Rice Krispie–style squares for tiny dogs?
What is the baked peanut butter–carob ball recipe and bake time?
How should I store and freeze small batches?
Can I add fruits or vegetables to the recipes?
Are carob and wholewheat flour safe choices for tiny dogs?
How can I use crispy squares for training and enrichment?
What safety checklist should I follow before assembling or baking?
How many treats should I give my tiny dog each day?
How can I scale the no-bake recipe for larger batches or gifting?
Content created with the help of Artificial Intelligence.