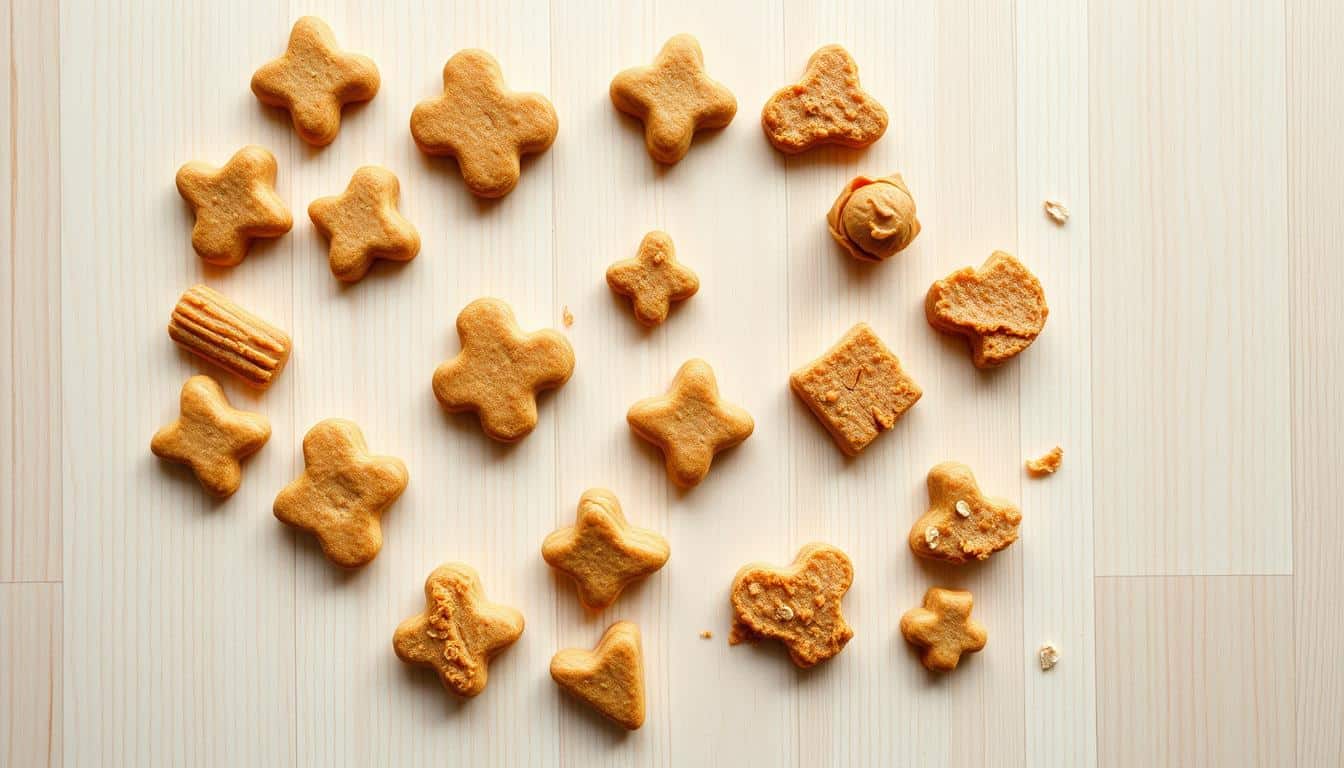
Homemade dog treats make pets and their owners happy. But, they don’t have the chemicals that store-bought snacks do. You need to keep them fresh and safe. This means keeping them dry, slowing down germs, stopping fats from going bad, and keeping them away from heat and light.
To store your homemade dog treats right, learn the best ways. Most get eaten quickly. But if you want them to last longer, think about cooling, freezing, or drying them out. Vacuum sealing is another great way to keep them fresh in the freezer.
Storing your DIY dog treats correctly can save money and reduce waste. With the right approach, your treats can last days, weeks, or even months. It depends on how you store them and what’s in them. Below, discover tips to keep the treats tasty and safe.
Why Proper Storage Matters for Homemade Dog Treats
Storing homemade dog treats right is more than just convenient. It keeps your pet safe from getting sick and saves you from wasting ingredients and time. Using airtight containers and keeping treats cold or frozen can really help. This keeps your pet’s food safe.
Health and safety risks of improper storage
Treats left out can get bacteria and mold, especially if they have meat, cheese, or are moist. Watch out for treats that get soft, smell bad, change color, or get moldy spots. Bad fats can upset your dog’s stomach and make all the treats go bad faster.
How lack of preservatives affects shelf life
Homemade treats usually don’t have the preservatives or sugar that keep store-bought treats fresh longer. Wet ingredients like fruit or dairy make them spoil faster. Without preservatives, these treats don’t last long, so it’s important to cool them quickly and use the right containers.
Cost savings and waste reduction from correct storage
Correct storage, like using airtight containers, chilling, drying, sealing, or freezing, keeps treats fresh longer. You won’t have to make new ones as often, which saves ingredients and reduces waste. These small steps can save money and keep treats safe and tasty for longer.
How to store homemade dog treats safely
Keep treats fresh and safe by cooling and storing them right. Just a few simple steps can prevent spoiling, keep the texture right, and cut down on waste. When packing, stacking, or freezing snacks, small efforts matter a lot.
Cooling completely before storing and why it matters
Make sure treats are fully cool before sealing them up. Thin biscuits might only need a couple of hours. But thick or dense treats could take over three hours to cool. Cooling stops heat from causing moisture inside the container, which is crucial.
Avoiding condensation and sogginess with wire racks
Wire racks help air move all around each treat. Raising treats off the counter keeps their bottoms crisp and speeds up drying. Avoid putting warm treats in airtight containers or bags. Doing so leads to condensation and makes treats soggy.
- If there’s moisture inside a container, you have to throw that batch out.
- To keep air moving in layered storage, put parchment paper between each layer.
- Only freeze treats once they’re totally chilled to stop moisture from building up.
Checking treats before serving: smell, texture, and visible mold
Check treats every time before giving them to your dog. Smell them for any bad odors that could mean they’re spoiled. Feel their texture: damp soft treats or too flexible hard cookies might not be good anymore. And look for white dots, fuzz, or weird colors.
- Throw away any treat that smells weird, feels odd, or shows mold.
- When unsure, it’s safer to discard a treat than to risk your pet’s health.
- Always inspect treats before feeding them to ensure they’re safe after storage.
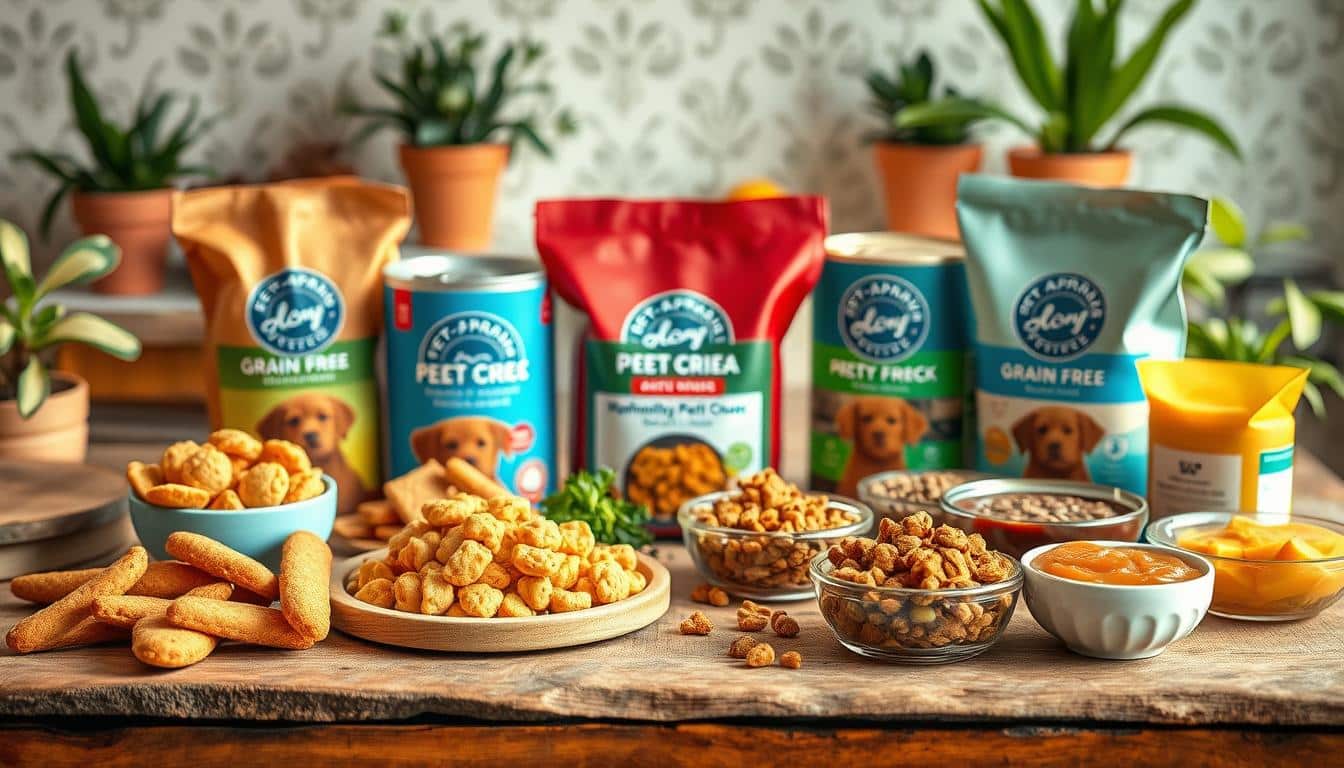
Choosing the right container for different treat types
Choose containers based on your baking and storage habits. Dry biscuits, soft chews, and frozen snacks each require different containers. Making smart choices helps reduce waste and keeps treats fresher for a longer time.
Airtight glass, ceramic, and BPA-free plastic options
Airtight jars are perfect for storing crunchy biscuits on countertops and pantries. Use glass or ceramic jars with silicone seals to lock out humidity and maintain crunchiness. Pick jar sizes that match your usual batches to avoid exposing treats to air each time you open them.
For the fridge, choose BPA-free plastic containers, like Rubbermaid Brilliance. They’re great because they seal tightly, stack well, and don’t stain. These containers are ideal for keeping perishable or soft treats that require cooling.
Freezer-safe bags and vacuum sealing for long-term storage
Use freezer bags and solid containers designed for the freezer to shield treats from freezer burn. Vacuum sealing removes air and reduces oxidation, helping treats last longer. Treats in vacuum-sealed packs can stay fresh in the freezer for months, sometimes up to a year, depending on the recipe.
- Arrange treats in single layers before sealing to maximize space.
- Opt for clear bags to easily see what’s inside.
Labeling containers with date, ingredients, and portion info
It’s important to label your dog treat containers well. Include the baking date, main ingredients, and serving sizes. This helps manage which treats to use first and prevents using treats that are too old or have allergens. A basic label system helps keep track of treat freshness.
- Mark the baking date and when to throw them away.
- List any major allergens, like dairy or peanuts.
- Indicate how many treats are recommended per serving or day.
Choosing great containers for your dog treats makes life easier. Look for strong seals, safe materials, and use clear labels. This keeps treats safe, delicious, and ready to use.
Storage by ingredient: dairy, meat, fruits, vegetables, and fats
Different ingredients affect how long dog treats last. Follow these tips to keep them safe and delicious. Below are simple steps based on the type of ingredient.
-
Meat, fish, and cheese: Refrigerate once they cool. Store them in airtight containers. Use within five days. To keep them longer, vacuum seal and freeze. For travel, freeze treats flat for easy thawing.
-
Dairy in dog treats: Dairy speeds up spoilage. Keep these treats chilled and tightly wrapped. Soft cheese treats last a few days in the fridge. Freeze them for longer storage.
-
Fruit and vegetables: Wet fruits like bananas and apples spoil faster. Store these treats in the fridge for 3–7 days. Freeze any you won’t use right away.
-
Butter, margarine, and added fats: Fats can become rancid. Refrigerate treats with fats and use them quickly. Freeze for longer storage to prevent spoiling. Nut butters should also be kept cold.
-
Gluten-free flours: Treats made with coconut, chickpea, or oat flours stay moist longer. Keep them in airtight containers in the fridge. Reheat slightly for a crisper texture.
Label containers with dates and ingredients. Use the oldest treats first. If unsure, check their smell and texture before giving them to your pet.
Temperature and environment: pantry, refrigerator, and freezer tips
Choosing between storing dog treats in the pantry or fridge depends on their ingredients and how long you want them to last. Dry treats can stay on a countertop briefly. But if they have meat, dairy, or fruit, they need to be in the fridge to remain safe.
When countertop or pantry storage is acceptable
Place plain, cooled cookies in a sealed jar in a dark place for a week. Avoid areas near sunlight and appliances to prevent them from going bad quickly.
For freshness, use small containers and label them. In warmer months, move treats to the fridge early to stop mold or them turning soft.
Refrigerator best practices for perishable and soft treats
The fridge keeps most homemade snacks safe. Dry treats can last two weeks if sealed right. Soft snacks or those with meat or fresh items stay good for three to seven days. Meat recipes are best within five days.
Use sealed glass or safe plastic containers. Keep them on a middle shelf away from the door. Throw away any that smell bad or feel slimy.
Freezing methods for long-term storage and thawing advice
Freeze dog treats in portions to use them easily. Use vacuum bags or strong freezer bags to protect against freezer burn. Most can be frozen for months; low-fat ones can last a year.
To thaw treats, leave large items in the fridge overnight. It’s okay to give small frozen treats to dogs that like them. Throw away any that are soggy or smell weird after thawing.
- In warm climates, cut pantry time short and refrigerate sooner.
- Keep treats in dark, cool spots to slow spoilage.
- Label containers with dates to track freshness.
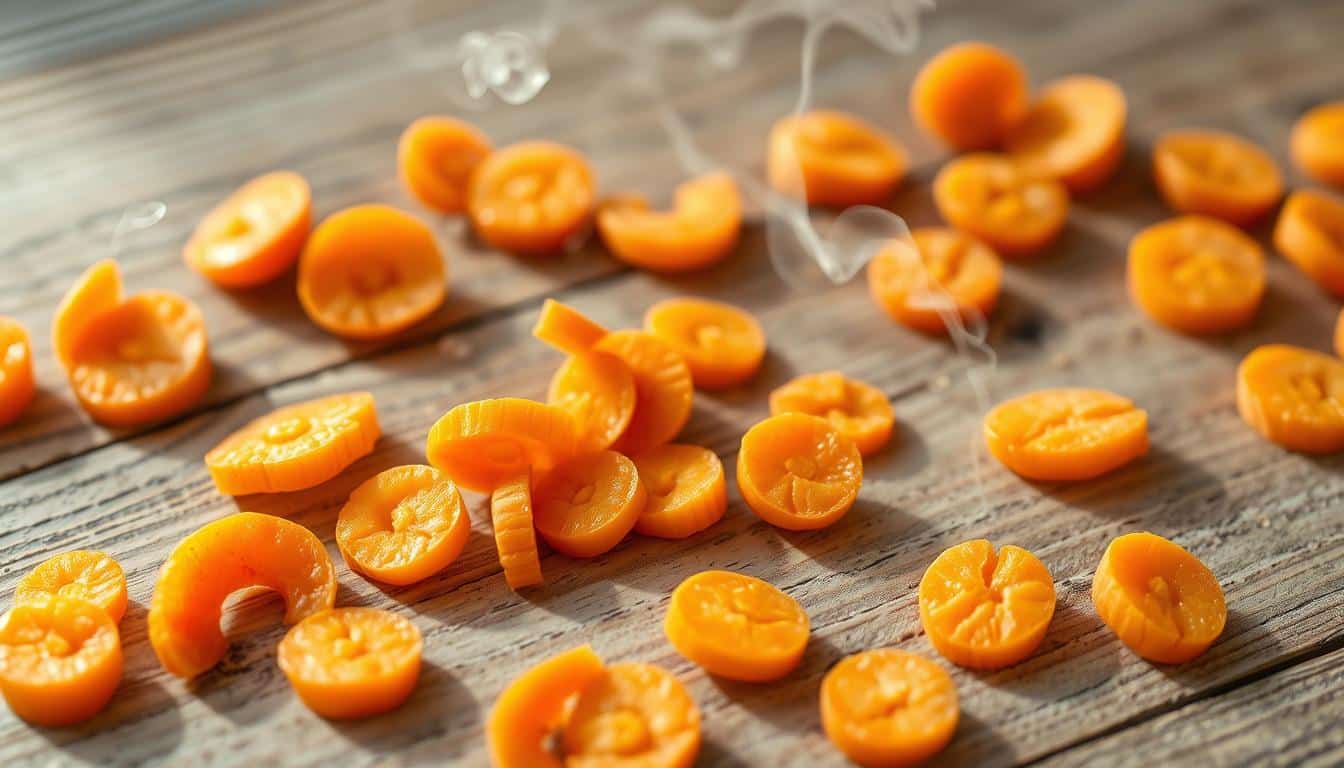
Extending shelf life: drying, dehydrating, and crisping techniques
Drying and dehydration make homemade treats last longer. They slow down bacteria and mold, keeping treats safe to eat. Small adjustments in your routine can improve both shelf life and texture.
Oven finishing techniques to increase crunch and longevity
After baking, let treats cool in the oven (turned off) with the door slightly open for about 30 minutes. This method dries out the surface without extra browning. For even crunchier treats, set your oven between 150–200°F and bake them a bit longer, for 15–20 minutes. These steps give you crispy treats that stay dry and store well.
Dehydrator tips and the snap test for fully dried treats
- Use a food dehydrator at the correct temperature for your ingredients—between 130–160°F for meats and 95–125°F for fruits and vegetables.
- To ensure even drying, rotate the trays and check for any soft spots now and then.
- Do the snap test on your dehydrated treats: they should break cleanly without a moist, darker center. If they bend or are chewy inside, they need more drying.
Why drier treats store longer in the larder than moist ones
Moisture is food for microbes. Thus, drier treats spoil slower and stay crispier, lasting longer outside the fridge. Thoroughly dehydrated dog treats have a longer shelf life. Properly dried baked treats can last a week in the pantry and two weeks in the fridge.
However, dehydrated meat and jerky last about three weeks at room temperature if they’re lean and fully dried. Don’t refrigerate these unless they are vacuum-sealed, as moisture from the fridge can shorten their shelf life. For keeping treats dry over longer periods, vacuum seal them and then freeze.
Using these methods and doing the snap test can help you make crunchy treats. With proper drying and finishing, you’ll get fresh, appealing snacks for your pet.
Vacuum sealing and other preservation methods
Small-batch bakers and home cooks can make treats last longer with a few simple steps. First, choose a dry or low-moisture recipe. Then, use cold storage, dehydration, or vacuum sealing based on the ingredients and how long you want them to last.
Vacuum sealing keeps air out and prevents freezer burn. It works best for low-fat, dehydrated biscuits. By vacuum sealing, you can store treats in the freezer for several months to a year. But, treats with more fat may not keep as long. Always check their texture and smell before use.
Natural preservatives work well for recipes with more fat or oil. Adding a bit of vitamin C or vitamin E can slow down spoilage. Just be sure to follow safe amounts, using advice from vets or reliable pet nutrition guides.
- Dehydrate or oven-crisp moist treats until they’re crisp.
- Keep cheese or meat treats in the fridge if they’ll be eaten soon.
- For long-lasting storage, vacuum seal lean or baked treats and then freeze them.
Commercial mold inhibitors are used in making high-moisture or gummy treats in large scales. Most home bakers won’t need these chemicals. If you decide to sell your treats, talk to a food safety expert. Make sure to follow laws about labels and ingredients before using mold inhibitors.
Stick to refrigeration, drying, and vacuum sealing for everyday use at home. Don’t forget to mark packages with the date and list of ingredients. Also, use older items first to keep everything fresh.
Special storage guidance for jerky and dehydrated meat treats
When storing homemade jerky and dehydrated meat treats, it’s key to be cautious. Use lean meats, ensure they are heated correctly, and pick the correct storage method. This keeps them safe and delicious whether stored for a short or long time.
Choosing lean cuts and trimming fat
- Choose lean meats like beef, turkey, or venison and cut off any visible fat before you start.
- Fat goes bad quicker than the meat itself, spoiling the taste.
- Lean meat makes for tastier, longer-lasting jerky with less chance of smelling bad.
Precook or flash-cook methods to control pathogens
- Precooking meat before drying it can kill germs but might alter its texture.
- For a chewy texture, flash-cook jerky after drying it: heat the oven to 275°F, bake for 10 minutes, then let it cool.
- These steps help make jerky safer to eat by reducing bacteria like Salmonella and E. coli.
Drying checks
- Properly dried, flexible jerky should bend and not be wet in the middle.
- If it’s crisp, it should break cleanly without a moist center.
- Keeping pieces the same thickness and drying them evenly are important for good results.
Storage timelines for pantry, fridge, and freezer
- Jerk that’s dried and stored in an airtight container in a cool, dry spot will last about 2–3 weeks.
- For a longer shelf life, vacuum seal jerky and freeze it; this way, it can last over three months.
- Don’t put dried jerky in the fridge as it can get moist and soft, unless it’s marinaded with perishables. In that case, refrigerate and use it quickly.
Practical tips
- Mark the packages with the date and type of meat to help keep track of freshness.
- Always rotate your stock and check for bad smells or mold before giving out treats.
- Storing your dehydrated meat treats in a cool, dark place helps them stay good longer.
Quick storage solutions for busy pet parents and no-bake treats
When you’re always on the go, you need easy ways to store homemade pet snacks. Keeping treats in the fridge or freezer helps cut down on waste and saves time. A little prep can make snack time easy and safe for your furry friend.

Refrigeration and short-term storage for oat and peanut butter bites
Keep no-bake oat and peanut butter bites in an airtight container in the fridge for up to 5 days. Use parchment paper in between layers to stop them from sticking. Keep single servings at the front for quick, easy access.
Freezing yogurt- or fruit-based frozen treats and portioning ideas
For freezing yogurt treats for dogs, use ice cube trays or silicone molds and freeze till solid. Transfer the frozen treats to freezer bags labeled with what’s inside. Freeze treats in small molds for training sessions to help manage portion sizes.
- Freeze in single-serve sizes for easy grab-and-go snacks.
- Label bags with date and ingredients for safe rotation.
- Consider thawing small portions slightly for tiny breeds to protect teeth.
Storing uncooked dough: double-wrapping and thawing safely
To save even more time, double-wrap uncooked dough tightly and freeze. First wrap in plastic, then in a freezer bag or vacuum seal to avoid freezer burn. Thaw it in the fridge overnight when you’re ready to bake for safe and even cooking.
Before freezing, portion the dough into small pieces for training treats to save time and avoid waste. Keep everything clearly labeled and rotate stock to use the oldest dough first.
Seasonal and regional considerations for treat storage
Changes in climate and seasons affect how long homemade dog snacks last. Heat, humidity, and direct sunlight can cause treats to spoil faster. It’s best to store them in a cool, dark, and dry place.
How heat, humidity, and sunlight affect spoilage rates
- High temperatures increase the risk of spoilage by helping bacteria and mold grow.
- Humidity can make treats soggy, shortening their shelf life in just days.
- Sunlight damages fats and vitamins, making shaded storage important.
Adjusting storage choices for summer, winter, and varying home temps
- In hot months, put dog treats in the fridge or freezer sooner than you normally would.
- During winter, a heated home around 75°F can still spoil treats; it’s safer to use the fridge unless your home is cool.
- In mild seasons, using airtight glass or vacuum-sealed bags keeps treats crisp and moisture out.
Practical tips for households without reliable air conditioning
- If there’s no AC, it’s better to store treats in the refrigerator or freezer, not on a counter.
- Make smaller batches of treats and use them faster to avoid spoilage in warm places.
- When taking treats outdoors, use insulated carriers or coolers to keep them cool.
- Check treats more often in humid areas, and adjust storage times based on how they look and smell.
Conclusion
Keeping homemade dog treats safe and tasty is all about proper storage. After cooling them on wire racks, use airtight, glass, or BPA-free containers. For meat, dairy, or fatty treats, refrigeration is key to keep their flavor and prevent them from going bad quickly.
To make treats last longer, dehydrate or bake them until crispy. This reduces moisture. Vacuum sealing fights against air, and freezing helps for treats not eaten immediately. Always label your containers with the date and what’s inside. This way, you’ll know when they’re no longer good and reduce waste.
Before giving treats to your dog, always inspect them for freshness. Look out for any bad smells, odd textures, or mold. If something seems off, it’s safer to throw it away. Following these simple steps will ensure your homemade dog treats stay fresh and safe, no matter where you live or how quickly your dog eats them.
FAQ
What are the primary goals when storing homemade dog treats?
Why does proper storage matter for homemade dog treats?
What health and safety risks should I watch for?
How does the lack of preservatives affect shelf life?
How does proper storage save money and reduce waste?
Why must treats cool completely before storing?
How do wire cooling racks help prevent sogginess?
What should I check before serving a stored treat?
Which containers are best for pantry or countertop storage?
What fridge containers work best for perishable treats?
How should I store treats in the freezer?
What labeling information should I include?
How long do meat-, fish-, or cheese-containing treats last?
How should treats with fruit or vegetables be stored?
What about treats with butter, margarine, or high fat content?
Do gluten-free flours change storage needs?
When is countertop or pantry storage acceptable?
What are refrigerator best practices and timelines?
How do I freeze treats and handle thawing?
How can I extend shelf life with drying or dehydrating?
What oven finishing tips increase crunch and longevity?
How does vacuum sealing help preserve treats?
Are natural preservatives like vitamin C or E safe to use?
When might commercial mold inhibitors be necessary?
How should I store jerky and dehydrated meat treats?
What are safe methods to eliminate pathogens in jerky?
How should I store no-bake oat and peanut butter bites?
How do I freeze yogurt- or fruit-based frozen treats?
What’s the best way to store uncooked dough?
How do heat, humidity, and sunlight affect shelf life?
What adjustments should I make for summer, winter, or homes without AC?
Any quick practical rules I should always follow?
Content created with the help of Artificial Intelligence.