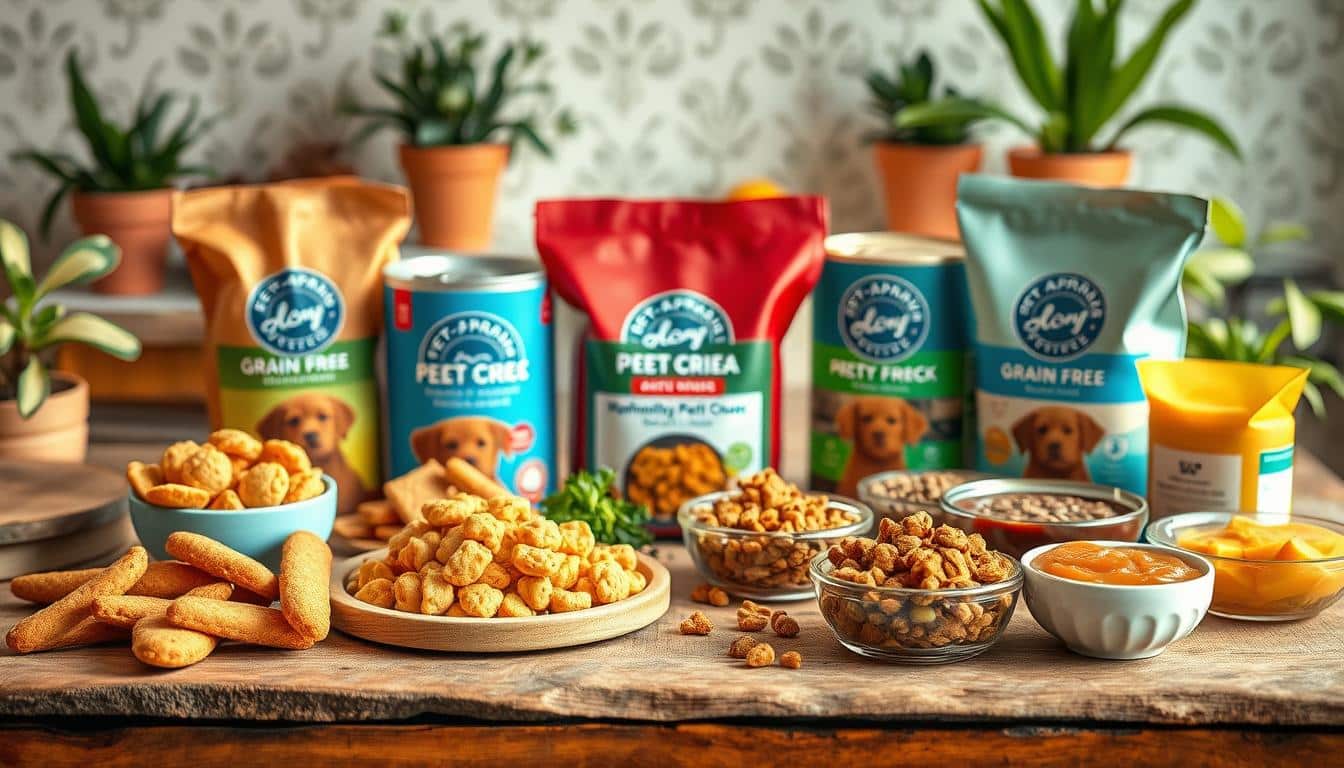
These 3-ingredient hypoallergenic dog biscuits are easy and cheap to make. They use simple things like cooked sweet potato or canned pumpkin, all-natural peanut butter, and oat or rice flour. This makes a yummy snack without common allergy triggers.
Why these are great: They have few ingredients and are quick to make. You don’t need any fancy kitchen tools. You can also bake them a bit less for soft snacks or more for crunchy ones. They’re cheap to make and easy to store. Just keep them in an airtight container in the fridge for a week or freeze them.
In the next sections, you’ll get all the details. This includes exact amounts, step-by-step instructions, and tips for allergy-safe options. You can make great treats that fit your pet’s needs and your kitchen habits.
Why choose homemade hypoallergenic dog treats
Making treats at home lets owners decide exactly what’s in their dog’s food. With few ingredients, you can skip stuff like hidden sugars and fillers that cause allergies. This way, dogs with delicate tummies and itchy skin benefit from homemade treats.
Control over ingredients for sensitive dogs
Baking at home means you can check every ingredient. You can pick things like pure canned pumpkin and natural peanut butter that’s only peanuts. You can use gluten-free oats or rice flour, avoiding wheat and dairy. This cuts out stuff that often causes allergies in dogs.
Cost savings compared to store-bought treats
Homemade treats usually cost less than store ones. Buying ingredients like oats and peanut butter in bulk makes lots of treats cheaply. So, making treats at home is a smart way to save money without giving up quality.
Customization for your dog’s needs and preferences
Custom treats mean you can make them perfect for your dog. You can change the texture and size or choose different flavors. This special touch is great for dogs of any age or size, and it keeps them safe from harmful ingredients.
- Choose single-ingredient peanut butter and single-ingredient pumpkin to limit additives.
- Use rice or oat flour for dogs with grain sensitivities.
- Make small trial batches to test tolerance before larger batches.
Key ingredients for safe, simple treats
Pick a few healthy ingredients. This keeps treats easy on sensitive stomachs. Ingredients should focus on fiber, mild flavors, and straightforward proteins for a taste dogs love without health risks.
Cooked sweet potato or canned pumpkin
Cooked sweet potato is naturally sweet. It’s full of fiber and vitamins. You can roast it or boil until soft, then mash it. If using canned pumpkin, make sure it’s only pumpkin. Unsweetened pumpkin puree is great for dogs. It’s good for dough and helps with digestion.
All-natural peanut butter or nut-free swaps
Choose peanut butter with just peanuts for a rich flavor. Avoid sugar, xylitol, or bad oils. If your dog can’t have peanuts, try sunbutter or a safe seed butter. Make sure the peanut butter for dogs doesn’t have toxic sweeteners.
Flour choices for texture and tolerance
Make oat flour dog treats from rolled oats. It’s good for dogs who can’t have wheat. Rice flour is also gentle, perfect for allergy-friendly treats; it makes biscuits crispy without a strong taste. Use whole wheat only if your dog is okay with it. Try oat or rice flours first with new treats.
- Use an egg or mashed banana to help bind and add protein.
- Add a bit of water or unsweetened oat milk for the perfect dough.
- Make small batches first. This lets you see if your dog likes them and can have them.
3-ingredient hypoallergenic dog biscuits
Creating treats at home lets you make sure everything is safe for sensitive dogs. Here are three easy recipes with simple, clear measurements for making dog biscuits. Making them in small quantities means they stay fresh. It also helps test for any bad reactions.
Sweet potato version
- 1 cup oat flour (or whole wheat if tolerated)
- 1/4 cup all-natural peanut butter (no xylitol or added sugar)
- 1/2 cup cooked sweet potato or unsweetened pumpkin puree
Heat your oven to 400°F. Roll out the dough between 1/4″ and 1/2″ thick. Then bake for 10–15 minutes. This makes the biscuits range from chewy to crispy.
Banana oat version
- 1 1/2 cups rolled oats, blitzed to flour
- 1/2 cup natural peanut butter
- 1 large ripe banana, mashed
Set your oven to 350°F. Roll the dough about 1/4″ thick. Bake for about 15 minutes for moist, sweet, safe treats for your dog.
Pumpkin and rice version
- About 4 1/4 cups rice flour (one ~680 g bag equivalent)
- 1 can (425 g) plain pumpkin
- 1 large egg (~50 g)
Turn the oven to 325°F. Roll the dough really thin, between 1/8″ to 1/4″. Baking time is 15–60 minutes, depending on how crispy or chewy you want them.
Recipe overview and ingredient quantities
Each recipe uses just three main ingredients. This helps avoid things that often cause allergies. You may need to change the amounts of flour and wet ingredients to make the dough just right. Use these recipes as a starting point, then adjust as needed for things like humidity and flour type.
Why this is hypoallergenic
The recipes are designed to avoid common allergies like dairy, soy, corn, artificial stuff, and sweeteners. Using gluten-free flours like oat or rice keeps it safe from wheat allergies. Ingredients like pumpkin, sweet potato, or banana are great for their gentle fiber and moisture. They don’t have the complex proteins that can cause allergies.
Choose plain peanut butter without additives, or a nut-free option if your dog can’t have nuts. You can leave out the egg if eggs are a problem. By sticking to these simple 3-ingredient recipes and trying small amounts at first, you can create safe, homemade treats for your allergic dog.
Step-by-step preparation and baking tips
Start with a plan for quick and tidy work. These steps guide you in making hypoallergenic dog biscuits. You’ll learn everything from cooking the base to setting the right baking times for different textures.
First, peel sweet potatoes and cut them into cubes. You can boil them until they’re very soft. Or, bake whole at 425°F for 40–55 minutes until soft. Then, mash until it’s smooth. Use silicone liners to freeze portions for later.
For a quick option, use unsweetened canned pumpkin. Make sure it’s just pumpkin on the label. For banana recipes, mash super-ripe bananas until smooth.
Mixing and dough consistency
To start, combine mashed sweet potato, pumpkin, or banana with all-natural peanut butter. Next, add oat flour or rice flour. Mix by hand or with a spoon until you get a soft dough. The dough may stick a little; that’s normal in baking hypoallergenic dog biscuits.
If the dough’s dry, add a bit of water, unsweetened oat milk, peanut butter, or pumpkin. If sticky, just add more flour. For oats, turn rolled oats into oat flour with a blender. You can add an egg for binding if you like.
Rolling, cutting, and preventing stickiness
Use a silicone mat or parchment paper for working. Cover the dough with wax paper to keep the rolling pin from sticking. Roll the dough to about 1/4″ to 1/2″ thick, depending on how chewy you want the treats.
Cut into shapes with cookie cutters, or simply cut into squares. For easy treats, roll into 1″ balls and press down with a fork. If the dough falls apart, mix in a bit more wet ingredient. This helps you shape the biscuits without mess.
Baking times for soft vs. crunchy treats
Bake at 400°F for 10–15 minutes. For softer treats, take them out between 10–12 minutes. For crunchier biscuits, bake up to 15 minutes. Then, let them cool on the tray to firm up.
Banana-oat treats do well at 350°F for about 15 minutes until lightly browned. For chewy biscuits, bake pumpkin and rice blends at 325°F for 15 minutes. To get them crunchy, bake up to 60 minutes.
Let all biscuits cool off completely before serving. The cooling period is key to achieving the right texture. It also helps in finding the perfect baking times for your dog’s taste.
Storage, shelf life, and freezing instructions
Storing treats properly keeps them fresh for sharing or gifting. Follow easy steps for short-term fridge storage, long-term freezer keeping, and safe thawing. Your dog will love every bite.
Short-term storage
- Let biscuits cool down fully before packing. This prevents moisture from getting in.
- Keep homemade dog treats in an airtight container in the fridge. Some recipes can stay fresh for one week. Banana-oat cookies might last two weeks if chilled.
- Biscuits made with pumpkin or rice can stay out a few days. But putting them in the fridge keeps them fresh longer and safer.
Long-term storage and freezing
- Divide treats before freezing for easy serving. Freeze treats on a tray first, then store in labeled freezer bags to avoid sticking together.
- Most treats can be frozen for two months. Pumpkin and rice treats may last six months if you seal them well.
- Freeze mashed sweet potato or pumpkin in muffin liners for convenient use. Thaw a portion when ready to bake.
Thawing and serving from frozen
- For thawing, shift frozen treats to the fridge overnight. Or, let them sit at room temperature for a few hours.
- If you need mashed vegetables quickly, microwave them for a short time to thaw. Stir and check they’re evenly warm. Let them cool completely before using.
- Make sure treats are totally cooled after reheating or thawing before giving them to your dog.
When saving extra batches or gifting them, use labels with the date. Clear labels help keep track of the treats’ freshness. This helps you decide when to freeze or discard older ones. Regularly rotating stock ensures treats are stored safely. Then, you can enjoy them straight from the fridge or after thawing.
Ingredient swaps and allergy-aware substitutions
Simple changes let you make treats safe for sensitive dogs. Begin with one swap at a time. Always check product labels to steer clear of xylitol and other hidden dangers.

Using banana for moisture and sweetness
Bananas can take the place of sweet potato or pumpkin. They bring sweetness and keep treats moist. So, you can use bananas in recipes, like those for pumpkin dog treats, when your pet prefers fruits.
If your dough is too dry, mix in 1–2 tablespoons of peanut butter or another safe choice to help it stick together. If your dog is sensitive to nuts, cut back on nut butters. Try adding an egg instead if your pet isn’t allergic to them.
Grain-free and gluten-free options
Rice and certified gluten-free oat flours are go-tos for gluten-free dog snacks. Rice flour is great for those allergic and works well for making large amounts. Stick with certified oats to keep away from gluten cross-contact.
Dogs eating a grain-free diet can have chickpea flour, but only if they’re okay with legumes. Always talk to a vet before changing to grain-free treats.
Nut-free alternatives for peanut allergies
Use sunflower or pumpkin seed butter for dogs that can’t eat nuts. Make sure these butters don’t have xylitol or added sugars. They offer fats and taste similar to what you get from peanut butter.
Prefer no seeds or nuts at all? Then increase mashed sweet potato or pumpkin. Add a bit of safe flour or an egg for better texture. Use water or unsweetened oat milk to adjust dough’s moisture without introducing allergens.
Practical swap checklist
- substitute banana for pumpkin dog treats: use ripe banana, adjust binder if crumbly.
- grain-free dog treat substitutions: rice flour or certified gluten-free oat flour; consider legumes only with vet approval.
- nut-free dog treats: sunflower seed butter or pumpkin seed butter; verify no xylitol.
- gluten-free dog biscuits: use rice flour or certified gluten-free oat flour for safe texture.
Always introduce new treats gradually and monitor your dog for any digestive or skin issues. Keep a record of what works so you can easily make more of what your dog loves.
Safety notes and vet guidance for allergic dogs
When baking treats for dogs, always think of safety first. Make sure to read all labels carefully. Choose items like single-ingredient canned pumpkin, steering clear of pumpkin pie fillings. Opt for peanut butter that only contains peanuts. It’s important to avoid harmful additives and ensure flours haven’t been contaminated, especially if your dog has serious allergies.
Check ingredient labels and avoid additives
- Opt for simple ingredient lists on items like peanut butter, pumpkin, and flour.
- Always double-check for sweeteners and fake ingredients. Steer clear of xylitol in peanut butter since it’s deadly for dogs.
- Products that share equipment with wheat, soy, or nuts should be avoided for dogs with strong sensitivities.
Introduce new treats gradually
Begin by giving your dog a tiny piece of the treat. Watch your pet for 48 to 72 hours after. Check on their digestion, skin, energy, and overall behavior. If you notice any issues like vomiting, diarrhea, or sluggishness, stop giving the treat and get in touch with your vet. Keeping track in a log can help you notice if there’s a pattern in reactions.
Consultation for dogs with severe food allergies
- Always talk to your vet or a certified veterinary nutritionist before making treats for dogs with allergies or health issues.
- Ask them how much of the treat is okay, so it fits within the daily calorie needs. Too many treats can lead to extra weight and an upset stomach, even with healthy ingredients.
- If your dog has many allergies, ask about safe protein and flour options and testing for hidden allergies.
Practical vigilance and portion control
Make treats in small amounts until you’re sure your dog can handle them. Remember, even low-calorie snacks can add up. Treats should only be a tiny part of a dog’s daily diet to keep them healthy in the long run.
Ways to customize and present treats for engagement
Small changes in shape, size, and texture help keep dogs interested. They also make treats safer for dogs at different stages of their life. You can adjust the thickness and use different cutters based on how strong a dog’s chew is. It’s also fun to package and present treats for training, gifts, or holiday events.
- For tiny breeds and puppies, roll dough to about 1/8″–1/4″ and cut into small bite-size pieces for easy chewing.
- Large breeds do well with sturdier pieces up to 1/2″ thick that last longer during chewing.
- Senior dogs or teething pups benefit from shorter bake times for softer texture; treat testers prefer a 10–12 minute bake for softness.
- Consider a variety of dog treat shapes and sizes for training versus enrichment toys.
Gift ideas and holiday variations
- Make themed batches like bones, hearts, or seasonal shapes for birthdays or holidays. They make great gifts.
- Use natural decorations like a smear of xylitol-free peanut butter or a small extra-dough cutout on top.
- Package treats in airtight jars, tins, or clear boxes. Remember to label them with ingredients and a date to show they are made with care.
- Seasonal flavors like pumpkin or sweet potato are perfect for fall gatherings and make memorable gifts.
Using leftovers and reducing waste
- Freeze mashed sweet potato or pumpkin in portions for future use. This helps cut down on food waste.
- Store baked biscuits in portions to prevent spoilage. Only thaw what you need.
- If biscuits get too hard or stale, crumble them as meal toppers or pack them into toys like Kongs. This extends their use and reduces waste.
- Repurpose leftover fillings in human foods like sweet potato tacos if safe, or freeze for future dog treat batches.
Presentation and labeling tips
- For training, cut treats into smaller pieces. Keep them visible in a pouch for easy rewarding.
- For special events, make larger decorated cookies. Arrange them in gift boxes and clearly tag the ingredients.
- Label your batches with the bake date and contents. This helps other dog owners know what’s in the treats and checks for allergies.
- Include a mix of shapes and sizes in gift tins to appeal to various dogs and ages.
Conclusion
Making 3-ingredient hypoallergenic dog biscuits at home is both simple and budget-friendly. By using ingredients like cooked sweet potato or canned pumpkin, you keep things simple. Adding single-ingredient peanut butter and oat or rice flour cuts down on allergens.
You can also try banana, egg, or grain-free flours. This lets you change the texture and make sure it’s right for your dog.
These allergy-friendly dog biscuits are easy to make and you can adjust their size and how long you bake them. This means you can create softer treats for older dogs or crunchy ones for dogs who like to chew. You can keep the extras in your fridge or freezer, making life easier.
Ensure your peanut butter is just one ingredient and your canned pumpkin has no added sugar. Stay away from xylitol and other additives. If your dog has allergies, introduce new snacks slowly. Always talk to your vet if your dog has serious allergies. With careful testing and watching how much your dog eats, you can make these dog biscuits a safe treat. They’re a great way to show your dog you care while keeping allergies in check.
FAQ
What makes homemade 3-ingredient dog biscuits hypoallergenic?
Which three-ingredient combinations work best?
How do I choose the right flour for my dog?
What should I look for on labels when buying peanut butter and canned pumpkin?
How do I make dough if it’s too sticky or too dry?
What are the recommended baking temperatures and times for soft vs. crunchy treats?
How should I store homemade dog biscuits and how long do they last?
Can I freeze the dough or mashed sweet potato/pumpkin for later batches?
Are these treats safe for puppies, seniors, or dogs with dental issues?
What if my dog is allergic to peanuts—what substitutes work?
Can I use banana instead of pumpkin or sweet potato?
How many treats can I safely give my dog each day?
How quickly should I introduce a new homemade treat?
Do I need special equipment to make these treats?
Can I give these treats to other dogs if I’m gifting them?
When should I consult a veterinarian about homemade treats?
Content created with the help of Artificial Intelligence.