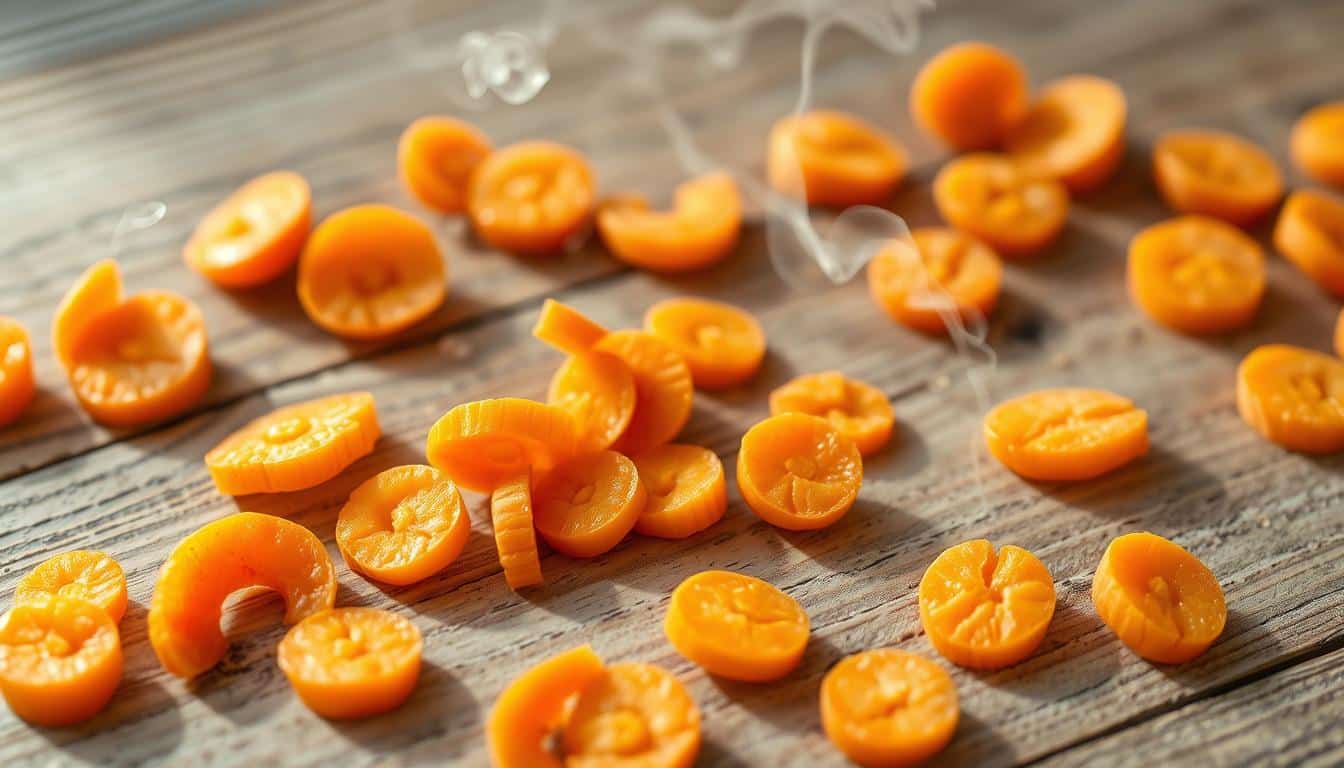
Looking for a tasty, healthy snack for your furry friend? Try this easy apple chips recipe. It only needs apples and a bit of cinnamon. Plus, there’s no oil or sugar added, making them a great choice for on-the-go treats.
Start by heating your oven to 200°F. Wash the apples well, then remove the core and seeds. Cut the apples into thin slices. Place these slices on a silicone mat or a lined baking sheet. Let them bake for about 120 minutes. You’ll know they’re done when they turn golden and crisp. Let them cool off before giving them to your dog, so they’re crunchy.
If you’re in a hurry, turn the oven up to 280°F and keep an eye on the slices. They can get crispy in 30–40 minutes if you want to use them soon. For these apple treats to last, dry them out completely. This way, they’ll snap when you break them. Store in an airtight container in a cool place to keep them fresh.
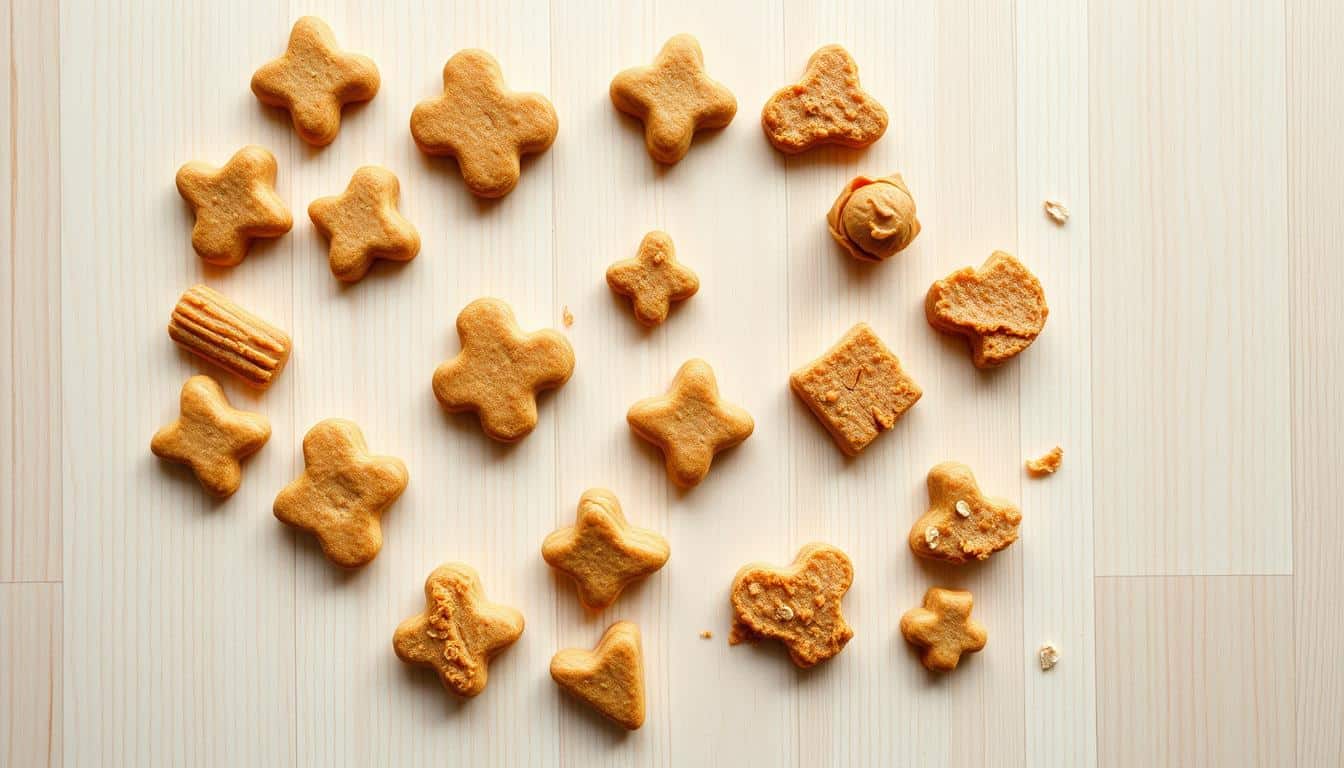
How to make crunchy apple dog chips
Making crunchy apple dog chips at home is easy and flexible. Begin with fresh apples and some basic kitchen gear. We’ll show you a straightforward method, the best apples for dogs, and the tools for perfect slices.
Overview of the simple homemade process
Clean the apples, take out the core and seeds, then cut them thinly. Put the slices on a silicone mat or a tray with lining. Bake at a gentle heat—about 200°F—until the edges start to brown and the slices become crispy. Let them cool entirely before giving them to your dog.
Primary ingredients and why apples are dog-friendly
- Apples offer fiber and natural sweetness without any added sugars.
- Always remove the cores and seeds to avoid harmful compounds in seeds.
- You can add a bit of ground cinnamon for a nice smell, in amounts that are safe for dogs.
Equipment options: oven, dehydrator, mandoline, silicone mat
- Mandoline: helps make all slices the same thickness for even cooking.
- Silicone baking mat: keeps slices from sticking and makes cleanup easier.
- Oven: great for making small batches; you can adjust the temperature from 200°F to 280°F depending on how thick your slices are and how fast you want them to cook.
- Dehydrator: the best option for even drying and longer shelf life; it usually takes 4–8 hours to fully dry the chips.
Follow these steps and use these tools to easily make crunchy apple dog chips. Picking the right tools and focusing on safe ingredients for dogs makes these treats easy, healthy, and crispy.
Why baked apple chips are a healthy dog treat
Baked apple chips make a wholesome snack for dogs. They have just one main ingredient. This lets the apple’s nutrition shine through.
Apples provide fiber, are low in fat, and have natural sugars. This satisfies cravings without lots of calories. A single chip has about 3 calories, 0 g fat, and 1 g carbohydrate. It’s a light, crunchy snack that helps with digestion and weight control.
Nutritional benefits
- Soluble and insoluble fiber support gut health and stool quality.
- Being low in fat helps prevent weight gain, unlike many commercial treats.
- Natural sugars make them tasty without added sweeteners.
Minimal processing and purity
Homemade apple chips don’t need oil or added sugar. This makes truly healthy apple chips. The simple preparation keeps the fruit’s nutrients intact. It also results in shelf-stable, healthy treats for dogs.
Safety and portion control
- Always remove seeds and core before slicing. Apple seeds can be harmful to pets.
- These chips should be treats, not the main meal. It’s important to keep a balanced diet.
- For small dogs, just a few chips a day is enough as a reward.
Best apple varieties for crispy dog chips
Choosing the right apple variety is crucial for baking dog treats. Pick sweet-crisp apples for crunchier chips. Also, consider the moisture and crispness of each apple type.
Five apple types stand out for homemade chips. They offer the perfect mix of sweetness, flavor, and firmness. This means you get a consistent crunch each time.
- Honeycrisp — prized for its snap and balanced sweetness, ideal for Honeycrisp apple chips that stay light in color.
- Gala — sweet with a fine texture that dehydrates quickly into pleasant, thin chips.
- Pink Lady — tart-sweet and firm, it yields sturdy slices that hold their shape.
- Fuji — sweet and dense; Fuji chips can be a touch chewier unless sliced thin.
- Tango — crisp with low water content, great for fast dehydration and bright chips.
Apple moisture varies by variety, impacting drying time. High-moisture apples take longer to become crispy. Try baking a few slices to gauge the perfect time.
The texture of the apple affects the chip’s feel. Firm apples can make thin, delicate crisps. But slightly thicker slices stay stronger for easier handling and storage.
Choosing between organic and conventional apples is about preference and what’s available. Washing any apple thoroughly removes residues. Some prefer organic to lessen pesticide exposure. Yet, it’s vital to remove cores and seeds from all apples before use.
To get uniform chips, write down the apple variety and details about slice thickness and drying time. This simple step helps you identify the best apples for chips. You’ll find out when Honeycrisp apple chips hit that perfect crispness.
Step-by-step recipe: simple oven-baked apple chips for dogs
This oven-baked apple chips recipe turns fresh apples into a crunchy, tasty treat for your dog. It’s easy and quick to make, using minimal ingredients. Choose organic apples if possible and avoid adding sugar or oil to keep it healthy.
- 1 medium apple (scale up as needed)
- Optional: up to 1 teaspoon ground cinnamon for a batch-sized sprinkle—safe for most dogs in small amounts
Preparation tips
- Wash apples, remove core and seeds, and dry them well.
- Slice uniformly thin with a mandoline or sharp knife; aim for under 1/8 inch for fastest crisping.
- Place slices in a single layer on a silicone mat or parchment to prevent sticking.
Baking details
- Preheat oven between 200°F and 280°F depending on your preference.
- For longer storage and full dehydration, set oven to 200°F and plan for about 2 to 8 hours of drying. The actual baking time varies based on the type of apple and how thick the slices are.
- If you want a quickly made batch, increase the temperature to 280°F. Then bake the thin slices for about 30–40 minutes. They will crisp as they cool.
- Sprinkle cinnamon lightly before or after baking for cinnamon apple chips for dogs when using the optional spice.
How to check doneness
- Remove a slice and let it cool for a minute. A fully dehydrated chip will snap cleanly.
- If slices feel leathery or bend without breaking, return them to the oven. Keep checking every 15–30 minutes.
- Allow chips to cool completely on a rack. Cooling finalizes the crisping process, showing the actual texture.
Storage note
- Store cooled chips in an airtight jar in a cool, dry place for up to a week. For longer shelf life, make sure the slices are fully dehydrated during baking.
Baking vs. dehydrator: timing and texture differences
Choosing between an oven and a dehydrator changes timing, texture, and storage. Home ovens give fast results for snacks eaten the same day. Dehydrators run longer at low temps and yield crisp chips that store well.
Oven method: pros, cons, and typical bake times
The oven is everywhere in American kitchens. Set it at 200°F and expect edible chips in about two hours. A higher temp, like 280°F, can produce quick-bake apple chips in 30–40 minutes for immediate serving.
Oven pros include speed and convenience. Oven cons include uneven airflow and occasional soft spots. Faster oven methods often leave chips that crisp as they cool but will not remain dry enough for long-term room-temperature storage.
Dehydrator method: longer dehydration for shelf stability
Dehydrators use steady low heat and consistent airflow. Full dehydration commonly takes four to eight hours, depending on slice thickness and apple moisture. The result often breaks with a snap and is dehydrated apple chips shelf stable when stored correctly.
Dehydrator pros are uniform drying and reliable shelf life. A dehydrator can be a smart investment for anyone making large batches to store or gift.
Quick-bake option when serving immediately
Quick-bake apple chips work well when you plan to serve treats right away. Shorter times at higher temps yield softer chips that crisp while cooling. If they soften later, a brief reheat in the oven restores snap.
Use quick-bake apple chips for fresh, warm snacks. Use the dehydrator for longer-term batches that need to stay crisp on the shelf.
Tools and tips for perfect, non-sticky apple chips
The secret to crisp apple chips? Use the right tools and timing. Slicing apples thinly and uniformly helps them cook evenly. And choosing the right surface ensures the chips stay whole and cool down properly. Stick to these tips to avoid sticky situations and keep your apple chips in one piece.
Slice even every time.
- For slices that cook evenly, use a mandoline. This tool ensures they are all under 1/8 inch thick. Uniform slices mean a shorter bake time and consistent crispness.
- If you do not have a mandoline, a sharp chef’s knife can work. Keep in mind, slices might not be as even, leading to different textures.
Choose the best surface.
- With a silicone baking mat, apple chips come off easily. It’s the best choice for avoiding stickiness during baking and cooling.
- Wire racks let air flow all around, drying the apple chips faster. This means they’ll be crisper.
- Parchment paper is a decent option, but stickier slices may cling to it. Avoid foil unless you’re okay with removing the chips while they’re still warm.
Tip for sticky trays and foil.
- When using foil, peel the chips off as soon as they’re out of the oven. If they cool down, they might break.
- If your tray isn’t non-stick, quickly get a thin spatula under each slice. Then, move them to a rack to cool and become firm.
Small habits that matter.
- Dry the apple slices with a towel before baking. This lessens surface moisture.
- Spread the slices out so hot air can surround them.
- Halfway through baking, rotate the trays. This ensures the entire batch cooks evenly.
Use a mandoline for consistent slices, a silicone mat for easy removal, and quick action with hot surfaces. These steps prevent your apple chips from sticking. Follow these tips, and you’ll make delicious, crunchy apple chips that stay together whether you’re packing them up or treating yourself.
How to add safe flavor: cinnamon and other dog-friendly options
Apple chips taste great alone, but a bit of spice makes them even better. Always use spices in small amounts. Watch how your dog reacts to new flavors. A little spice can be interesting and not upset their stomach.
Using ground cinnamon in small amounts and why it’s safe for most dogs
Mix about 1 teaspoon of ground cinnamon per apple when making a few. This keeps it mild, smells good, and avoids extra sugar. Cinnamon is usually okay for dogs and enhances apple’s sweetness.
Begin with just a small sprinkle and offer only a couple of chips to start. If your dog seems fine, these chips are great for training or as a special treat.
Seasonings to avoid for dogs
Some spices and sweeteners can be harmful. Never add sugar or fake sweeteners. Be especially careful with xylitol; it’s very dangerous in even small amounts. Always read labels carefully.
Avoid nutmeg since it has harmful compounds like myristicin. Keep it and any spice you’re not sure about away from your dog’s food. When in doubt, choose plain but safe ingredients over risky ones.
Ideas for mixing apple chips into treats or training rewards
- Use whole or halved chips as quick training rewards; their crunch is satisfying and low-calorie.
- Crumble a chip over plain, unsweetened yogurt for dogs that tolerate dairy under vet guidance.
- Mix small pieces into homemade kibble toppers made from plain cooked chicken and a light sprinkle of dog-safe herbs.
Always keep treat sizes small and stick to seasonings that are known to be safe for dogs. Testing in small amounts helps ensure they can handle it. With careful choice, spiced apple chips can be a healthy snack option.
Storing apple chips and keeping them crispy for longer
To store apple chips right, make sure they’re fully dry first. They should snap when bent, showing they have low moisture. This way, they’ll stay good for a week at room temperature. If they get soft the next day, you can usually make them crispy again easily.
The best containers block air and moisture. Use tight jars or sealable bags. Keep them in a cool, dark place. To keep the chips crispy longer, add a safe dry packet or cool them in a sealed jar.
Just follow these easy steps to dry them right for storage:
- Slice evenly so all pieces dry at the same rate.
- Dry until each piece snaps when broken.
- Cool chips completely before sealing to avoid trapped steam.
If your apple chips get soft, here’s a quick fix:
- Preheat oven to 200°F (93°C).
- Spread chips on a baking sheet in one layer.
- Heat for 1–5 minutes, watch til they’re crisp again.
- Let them cool fully before storing to keep them crisp.
Some easy habits help keep the chips crispy. Only open the container when you need to. Stay away from damp places and use the oldest ones first. By doing these things, you can avoid waste and keep your apple chips fresh and crunchy.
Troubleshooting common problems with homemade apple chips
Making apple chips at home can be easy, but sometimes they don’t come out right. Try these quick fixes to solve common issues. Small tweaks in how thick you cut them, baking time, or where you place them on the tray can work wonders.

Why chips turn out soggy and how to fix soft apple chips
- Slices that are too thick will hold onto moisture. Try cutting them between 1/16 to 1/8 inch thick. A mandoline slicer ensures consistent thickness.
- If they’re not baked long enough, they’ll be soft. Bake at a low temperature for up to 120 minutes, checking on them every 15 minutes towards the end.
- Letting them cool down is also important. They often get crisper as they cool. Check if they snap before deciding they’re too soft.
Color variations and what they reveal
- Lighter colored chips might come from crisper apples like Honeycrisp or Fuji; darker ones might be from softer, sweeter apples.
- If your chips are different shades, it might mean they dried unevenly. Bake them longer or pick firmer apples for uniform color.
- A bit of browning is normal and it’s still safe for your dog as long as you don’t use sugar or harmful additives.
Managing uneven apple chip crisping and soft spots
- Chips crisp unevenly if they’re not all the same thickness. Cut them evenly with a mandoline.
- Where you place them on the baking tray matters for airflow. A silicone mat can help with even heating and prevent sticking.
- If some pieces are still soft, bake them a bit longer, between 5–15 minutes, and let them cool completely. This can often save a soft batch.
By following these tips, you can avoid soggy and uneven chips. Small changes in your method can make your chips crispy and enjoyable for your dog.
Conclusion
Making crunchy apple dog chips at home is easy. Just wash them, remove the core, slice them thin, and bake at about 200°F. Do this until they’re golden and crispy. This method is simple and uses few ingredients. It creates a snack that snaps when dry and keeps for a week in a cool spot.
To make these chips crunchy again, just heat them up briefly in the oven. This won’t add anything new to their clean ingredient list.
Here’s a quick summary of making homemade dog treats. These apple chips are a healthy choice because they’re naturally sweet. They also have fiber and are low in fat. No extra sugar or oil is needed. Just slice them thin and dry them well.
Using a mandoline ensures even slices. A silicone baking mat makes them easy to take off the tray. This helps make the apple chips perfect for training, traveling, or just as an everyday treat.
For the best taste, use apples like Honeycrisp, Gala, or Fuji. If you want to eat them right away, bake them for less time. This will make them less crispy. To keep them longer, dry them out fully until they snap.
In summary, making apple dog chips at home is cost-effective and healthy. Plus, they taste great if you follow simple preparation and drying steps.
FAQ
What are crunchy apple dog chips and why make them at home?
What ingredients do I need for apple dog chips?
Which apple varieties give the crispiest chips?
Should I use organic or conventional apples?
How should I prepare the apples before baking or dehydrating?
What equipment do I need: oven, dehydrator, mandoline, silicone mat?
What oven temperature and time should I use?
How long does full dehydration take in an oven or dehydrator?
How can I tell when apple chips are done?
Are apple seeds and cores safe for dogs?
How many calories are in an apple chip and how should I portion for my dog?
Can dogs eat apple chips with cinnamon?
What seasonings or additives should I avoid?
How should I store homemade apple chips to keep them crisp?
My chips softened—how can I re‑crisp them?
Why did some chips turn out soggy or have soft spots?
Why do chips vary in color and does color affect safety?
Can I use foil or parchment instead of a silicone mat?
Should I use a dehydrator instead of an oven?
Are apple chips safe for travel and training rewards?
Content created with the help of Artificial Intelligence.